How to access ADI Testnet
The ADI Chain is an EVM-compatible chain based on zkSync Atlas (formerly zkSync OS).
You can find more information about ADI Chain here: https://docs.adi.foundation/
The testnet is open and anyone can join it.
tl;dr (for experienced users)
Add a custom network to your wallet with the following parameters:
- Network Name: ADI Network AB Testnet
- RPC URL: https://rpc.ab.testnet.adifoundation.ai/
- Chain ID: 99999
- Currency Symbol: ADI
- Block Explorer URL: https://explorer.ab.testnet.adifoundation.ai/
Then request funds from the faucet: https://faucet.ab.testnet.adifoundation.ai/
Now you’re ready to use the ADI Network Testnet.
From here you can build your first app (https://docs.adi.foundation/how-to-start/adi-network-testnet-quickstart) or send a transaction to a friend’s wallet.
Access to the network from your wallet
In this section, we use MetaMask to connect to the ADI Network. Other wallets use the similar path.
Step 0. Install MetaMask and create a wallet
- Go to https://metamask.io/ and click the “Get MetaMask” button. You’ll be redirected to the correct extension for your browser..
- Click the “Create Wallet” button. You can either create a wallet using your email or create it with a Secret Recovery Phrase.

Make sure you store your Secret Recovery Phrase somewhere safe. If you lose it, you lose access to the wallet.
Step 1. Add ADI network to the wallet
By default, MetaMask doesn’t connect to every blockchain. You need to add the ADI Network Testnet manually so you can interact with it.
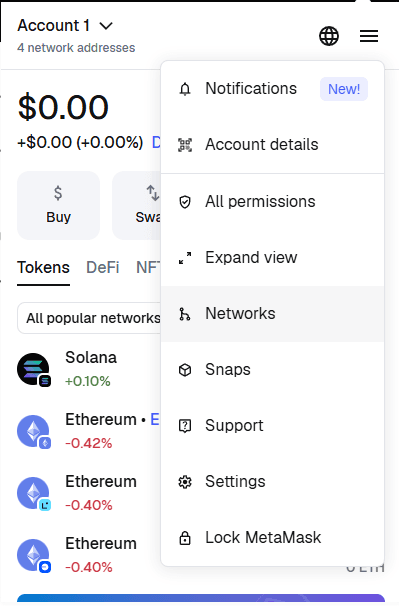
- Open MetaMask extension.
- Find the “Networks” option in the list.
- Click “Add a custom network.”

- Fill in the fields exactly like this (tip: open the MetaMask window in “Expand view” to make copy/paste easier):
- Network Name: ADI Network AB Testnet
- RPC URL: https://rpc.ab.testnet.adifoundation.ai/
- Chain ID: 99999
- Currency Symbol: ADI
- Block Explorer URL: https://explorer.ab.testnet.adifoundation.ai/
- Save / add the network.
After this step, MetaMask will remember the ADI Network AB Testnet as a custom network.
Step 2. Switch to the network
If the current network is not ADI:
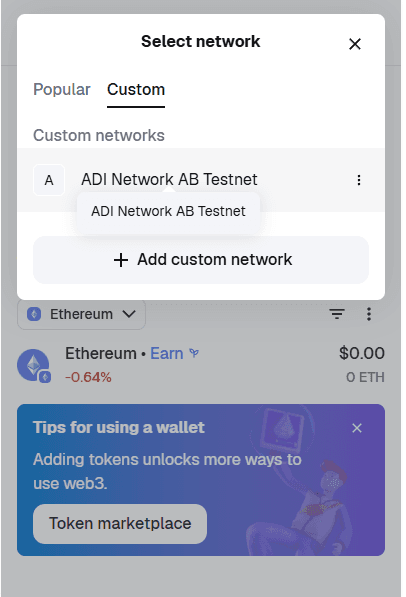
- Click on the network name.

- Choose the “Custom” tab.
- Select ADI Network AB Testnet.
Once selected:
- The network name should display as ADI Network AB Testnet.
- The native token should be ADI.
- The Chain ID should be 99999.
You can always switch back to any other network (for example, Ethereum Mainnet) later using the same menu.
Step 3. Claim tokens
To interact with the network, you need the native payment token (ADI). This token is used to pay for gas (transaction fees) when you send transactions or deploy contracts.
You can get testnet ADI from the faucet.
Important: Faucet funds are test tokens. They have no real monetary value and are only for development on the testnet.
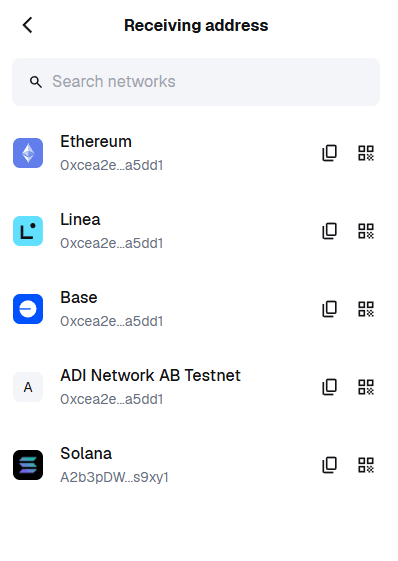
- In your wallet, click the “Receive” button and copy your wallet address (your ADI address is just your EVM address).

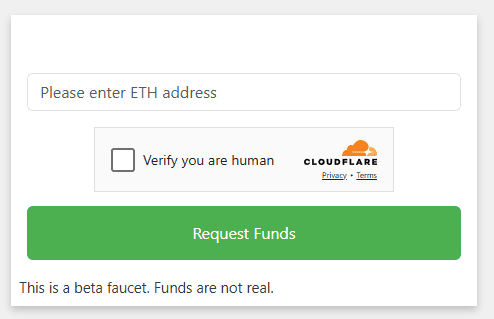
- Open the faucet page: https://faucet.ab.testnet.adifoundation.ai/
- Paste your address, solve the captcha, and click Request Funds.
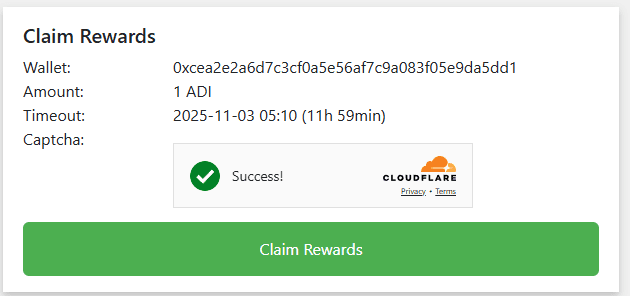
- Click Claim Rewards and wait a few seconds until your transaction is confirmed.
- You can confirm that the funds were received in two ways:
- Check your wallet: Your ADI balance on ADI Network AB Testnet should now be greater than 0.
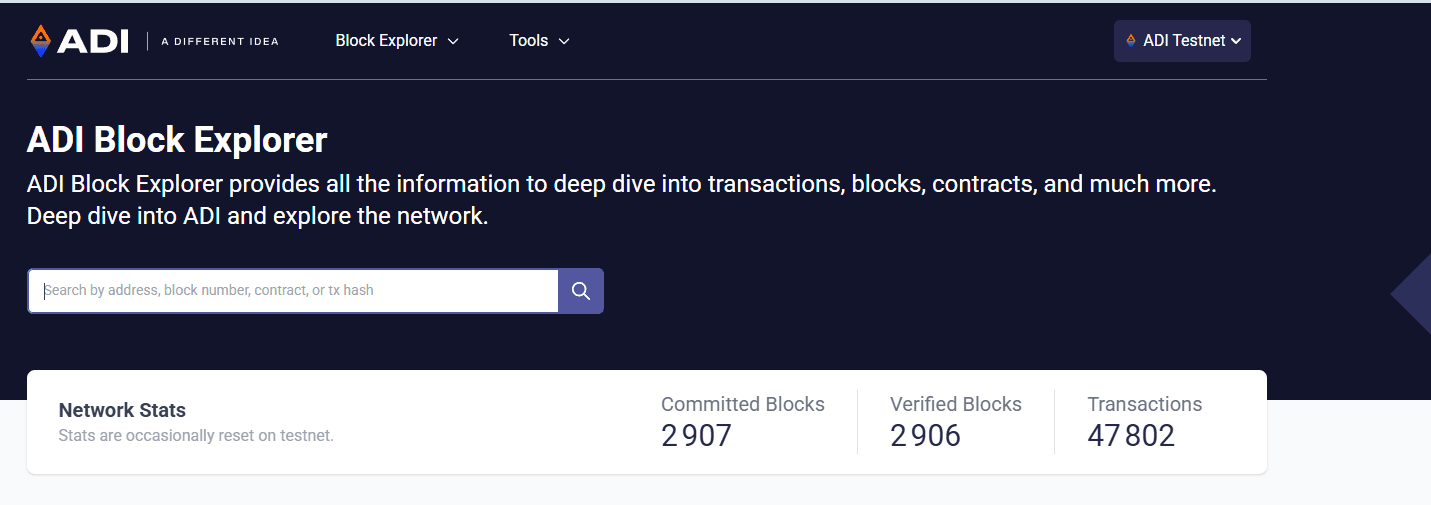
- Check the Block Explorer:
- Go to https://explorer.ab.testnet.adifoundation.ai/
- Paste your wallet address into the search bar.
- You should see an incoming transaction from the faucet and your updated balance.
Now you’re ready to use ADI Network!
From here you can build your first app (https://docs.adi.foundation/how-to-start/adi-network-testnet-quickstart) or send a test transaction to your friend.